Seasoning cast iron skillet with flaxseed oil is straightforward: Scrub and dry the skillet completely, then rub on a vanishingly thin film of 100% pure flaxseed oil and wipe until it looks almost dry.
Bake the pan upside down at 450-500°F for 45-60 minutes, let it cool, and repeat 4-6 times; this yields a very hard finish, though some users find flaxseed layers can become brittle and flake, if you want a less finicky option, grapeseed or canola also work well.
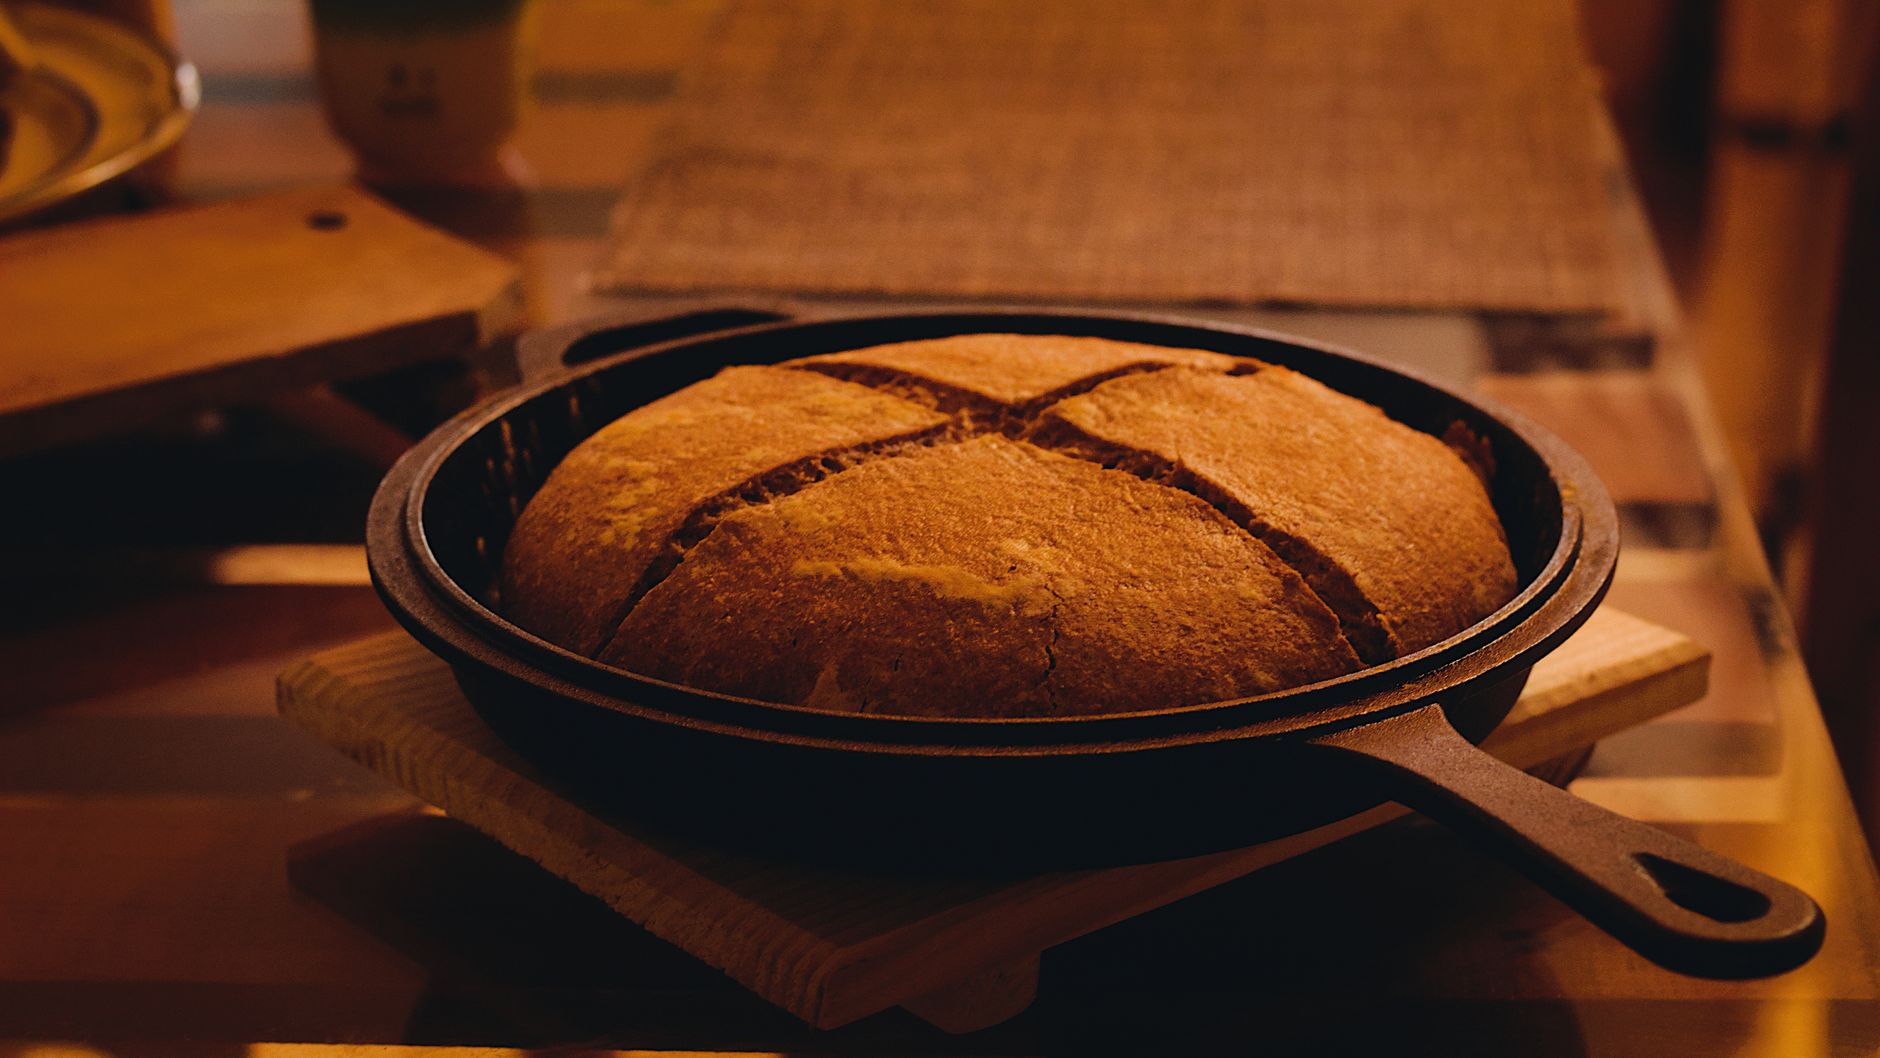
Seasoning cast iron skillet with flaxseed oil: the 2-minute method
Here is the concise playbook you can follow without second-guessing. Preheat your oven to 475°F (anywhere in the 450-500°F range works) and give it at least 20 minutes to stabilize. Run your vent or open a window because there will be a little smoke. While the oven heats, warm your clean, dry skillet on the stovetop for 1-2 minutes over low heat so the metal is just hand-warm, not hot.
Measure about 1/2 teaspoon of flaxseed oil for a 10-12 inch skillet (use ~1/4 teaspoon for an 8 inch pan; a hair more for larger Dutch ovens). Rub the oil over every surface, inside and out, including the handle, using a folded paper towel. Now buff with a second clean towel until the pan looks almost dry. The goal is an ultra-thin, even film, no shine, no streaks, no pooling. Use the fingerprint test: lightly touch the surface; if you leave a wet print, keep buffing.
Place the pan upside down on the center rack and put a foil-lined sheet or piece of foil on a lower rack to catch any drips. Bake 45-60 minutes. Turn the oven off and let the pan cool inside 30-45 minutes until it is safe to handle. Repeat 4-6 cycles for a robust base layer. Hands-on time is roughly 12-18 minutes total; the whole project takes about 5-7 hours end to end, mostly waiting. Oil usage is tiny; even after six coats, you typically spend under one dollar in oil.
When to skip flaxseed: If you want fewer coats, faster results, or a less finicky method, grapeseed or canola oil are easier to work with and less prone to brittle layers. You can still build an excellent nonstick-like patina with them.
What you need and how to prep the pan
Tools and supplies:
- 100% pure food-grade flaxseed oil (no additives or blends)
- Paper towels or a lint-free microfiber towel
- Tongs or heat-safe gloves for handling the hot pan
- Heavy-duty foil or a spare baking sheet to protect your oven
- Oven thermometer to confirm temperature accuracy
- Optional: a fine non-scratch scrub pad, kosher salt for surface touchups
Pan prep matters more than anything. Wash with hot water and a drop of mild dish soap if the pan is new, greasy, or has stuck-on residue. If rust is present, scrub with steel wool or a fine scrub pad until you see clean iron, then rinse and dry. For stubborn rust, a short vinegar soak (50:50 vinegar and water, 10-20 minutes) helps, followed by a thorough rinse and immediate drying. If old seasoning is peeling or uneven, consider stripping fully (an oven self-clean cycle or a lye bath) before starting. Otherwise, spot-clean only the failing areas so you do not reset a healthy base.
Drying is non-negotiable. Water trapped under oil creates gummy spots. After towel-drying, set the pan over low heat for 3-5 minutes to drive off hidden moisture. A warm surface also helps the oil spread thinly and polymerize more evenly.
Why ultra-thin coats work: Thick oils bake into soft, sticky layers that never fully harden. Thin films convert to a hard, cross-linked polymer in high heat. Flaxseed oil is rich in polyunsaturated fats, so it polymerizes very hard, but it is also less forgiving if applied too thickly. That is why the wipe-to-dry step and the fingerprint test are essential.
Expect some smoke when the oil bakes. Ventilate well. A window cracked open and the range hood on high usually suffice. Keep pets and alarms in mind; this is normal and brief once the oven equilibrates.
Step-by-step: build a durable base with pro tips
Use an oven thermometer to verify your setpoint. Many home ovens run 20-50°F off or cycle widely. For a balance of hardness and reduced brittleness, 460-480°F is a sweet spot in many ovens. Preheat a full 20 minutes so the iron and the racks reach temperature, and leave the foil-lined tray on the lower rack from the start to avoid accidental drips on the heating element.
Optional warm-up: Bring the skillet just to warm on the stovetop for 2-3 minutes. A surface that is slightly warm to the touch spreads oil more easily and discourages pooling.
Apply the oil sparingly. For a typical 10-12 inch skillet, start with about 1/2 teaspoon of oil. Spread it across the cooking surface, walls, rim, underside, and handle. Immediately switch to a clean towel and buff until the skillet looks dry and matte, not glossy. If a paper towel tears and leaves lint, switch to a tightly woven cloth or microfiber.
Load the pan upside down on the center rack. This orientation minimizes pooling in corners and on the cooking surface. Bake for 45-60 minutes. If your oven has convection, turning it on can help even the heat, but it is not required. After the bake, turn the oven off and let the pan cool down gradually inside to minimize thermal shock. When the handle is warm rather than hot, you can pull it out and start the next coat sooner.
Cycle count: Four coats will usually get a serviceable base on a new, smooth pan. Six thin coats create a deeper, darker patina and reduce early sticking. If your skillet came pre-seasoned from the factory, two to three coats often suffice to strengthen the finish.
Pro wipe-to-dry test: After buffing, hold the skillet under bright light. You should not see streaks or a glossy sheen. Lightly tap a fingertip on the surface. If you leave an oily print, you still have too much oil. Buff more before baking.
Consistency tip: Apply identical pressure and pattern with every coat. If you notice darker arcs or lighter patches after a coat, gently even them out next round with a hair-thin layer and a more deliberate buff. The goal is steady, incremental darkening.
Troubleshooting: sticky, streaky, or flaking 2 quick fixes
Even careful seasoning can produce hiccups. Use this quick guide to diagnose and correct issues without starting over.
- Sticky or gummy after cooling: Cause: too much oil or too low a temperature. Fix: Bake one more hour at 500°F to drive polymerization. If a spot stays tacky, scrub that area hot with a non-scratch pad or coarse salt, rinse, dry, re-oil extremely thin, and rebake at 475°F.
- Streaks or an orange-peel texture: Cause: uneven wiping or oil pooling in corners. Fix: Lightly abrade with salt or a fine scrub pad to smooth peaks, then buff to a dry sheen and apply a hair-thin coat before baking again.
- Flaking after a few uses: Cause: thick layers or a brittle stack from high-heat coats. Fix: Spot-strip the loose areas with hot water and a scrub pad, dry fully, then rebuild with thinner coats. Many cooks stabilize a flaxseed build with a single top coat of grapeseed or canola to add flexibility.
- Food sticking during first cooks: Cause: the base layer needs reinforcement. Fix: Add one to two more ultra-thin coats, then cook a few fatty foods like bacon, ground beef, or potatoes in oil to train the surface.
- Uneven color or patchy sheen: Cause: variation in thickness. Fix: Do two more thin cycles focused on lighter areas, ensuring a thorough buff and an even bake.
- Excess smoke: Cause: excess oil or drips on the element. Fix: Reduce oil quantity, wipe to a matte finish, and keep foil lined below the pan to catch any drips. Confirm oven temperature with a thermometer.
Is flaxseed oil the best? Compare oils and choose by use case
Flaxseed oil builds a very hard, slick film when applied in ultra-thin layers and baked hot. That is why some enthusiasts prefer it for showpiece-level finishes. However, those same properties can make it brittle if layers are thick or if the oven runs very hot. Grapeseed and canola oils are more forgiving and still produce durable seasoning that stands up to daily cooking with fewer flaking complaints.
| Oil | Smoke point (approx) | Polyunsaturated % | Availability/Price | Pros | Cons | Best for |
|---|---|---|---|---|---|---|
| Flaxseed | 02250F | 066-70% | Moderate price, health aisles | Very hard polymerized film, sleek feel | Can be brittle if coats are thick; more smoke | Careful, patient method; display-level finish |
| Grapeseed | 04200F | 070% | Widely available, mid price | Forgiving, consistent seasoning, fewer flakes | Slightly softer than flaxseed | Everyday cooking, reliable results |
| Canola | 04000F | 030-32% | Very affordable, everywhere | Easy to apply thin, durable enough | Hardness slightly lower than flaxseed/grapeseed | Quick, low-hassle builds and maintenance |
| Lard/Tallow | 0370-4000F | 08-15% | Varies by region | Classic, reliable patina, pleasant aroma for some | Not neutral; availability and preferences vary | Traditionalists, stovetop seasoning sessions |
Quick picks by scenario:
- Choose flaxseed if you want the hardest film and you are comfortable with 4-6 ultra-thin coats and careful wiping.
- Choose grapeseed or canola if you want the easiest path to a durable, low-drama surface for daily use.
- Choose lard or tallow if you prefer a traditional fat and often season on the stovetop.
For deeper background on oil chemistry and alternatives, see our broader primer on cast iron skillet seasoning, and if you are curious about another commonly asked option, our take on olive oil for cast iron seasoning explains when it makes sense and when to pass.
Seasoning checklist: your no-miss routine
- Pan stripped or fully clean
- Fully dry and slightly warm
- Oven preheated 20 minutes, thermometer verified
- Ventilation on and foil-lined tray in place
- Oil measured (about 1/2 teaspoon for 10-12 inches)
- Buffed to a dry, matte sheen (fingerprint test passes)
- Baked 45-60 minutes upside down
- Cooled in the oven before the next coat
- Repeat 4-6 times for a durable base
- After washing, add a whisper of oil while warm
Your first cooks and how to keep the finish
First week cooking strategy: Preheat thoroughly before every cook, then add a little oil or fat so the surface glistens. For the first few sessions, cook foods that release fat, like bacon, sausages, ground meat, or potatoes in oil. Avoid boiling water and avoid long acidic simmering at the start. These early meals act like training reps that reinforce the polymer layer.
Everyday cleaning and care: Once the pan cools a bit, wipe out crumbs or oil with a paper towel. If bits stick, splash in hot water and use a soft brush or a handful of kosher salt as a gentle abrasive. Rinse, then dry immediately on low heat for a minute or two. While the pan is still warm, add a drop of oil and wipe to a near-invisible sheen. This micro-top-up keeps the surface smooth without building new sticky layers.
What ruins seasoning: Prolonged soaking, the dishwasher, heavy acid simmering, metal scraping on a dry pan, and re-oiling thickly after washing. Try to avoid these. If a mishap happens, do a quick maintenance coat: buff a vanishingly thin layer of grapeseed or canola and bake once at 475°F for 45 minutes.
When to apply a single maintenance bake: If food begins to faintly stick, if color pales in your most-used zone, or after a rare deep clean, one ultra-thin coat and a single bake often restores the surface. That is quicker than a full strip and rebuild.
For a full care routine that covers cleaning and storage habits, check our practical guide to cast iron skillet care.
New pan vs rusty rescue vs flaking rehab
Brand-new skillet: Many brands ship with a thin factory layer. Inspect the finish; if it looks even and matte, two to three additional thin coats will usually be enough to start cooking. If the surface is rough, consider lightly smoothing with a fine scrub pad before your first oil coat to help later wipes glide.
Rusty rescue: Remove rust completely until you see bare gray iron. Dry thoroughly over low heat to drive off moisture in the pores. Then complete 4-6 ultra-thin coats using the oven method above. Because fresh iron is hungry, the first coat or two may absorb quickly and look uneven; stay patient and keep coats thin. The finish will even out by the fourth cycle.
Flaking rehab: If flakes appear in limited areas, avoid a total strip at first. Scrub just the loose patches, rinse, dry warm, and rebuild with two or three extremely thin coats. If flaking is widespread, strip and restart with thinner coats at 460-480°F. Some cooks finish a flaxseed rebuild with one grapeseed or canola coat to add a touch of flexibility.
Do you need to strip old seasoning before reseasoning? Not usually. If the base is solid and only certain spots are dull or sticky, spot-fix those areas and layer on thin coats. Save full stripping for heavy rust, widespread peeling, or a pan that smells strongly off after cleaning.
What oil is best for seasoning cast iron? It depends on your goals. Flaxseed is excellent for the hardest film if you can commit to ultra-thin coats. Grapeseed or canola are great for daily use and easy success. Animal fats work well for those who like traditional fats and stovetop seasoning sessions. The best oil is the one you will actually use consistently and thinly.
How many times should you season before using it? For most new pans, four coats on day one, then cook. Add one or two more thin coats after your first week if food still tends to stick in a spot you use often.
Why does a flaxseed-seasoned pan sometimes flake and how do you fix it? Flaxseed builds a rigid stack when coats are thick or baked at the top of the range in an oven that overshoots. The fix is thinner coats, a verified oven temperature, and, if needed, a single top coat of a more forgiving oil like grapeseed or canola.
Oven accuracy and consistency tips
Use an oven thermometer placed near the center rack level. Let the oven re-stabilize for 5-10 minutes after opening the door to load the pan. If you know your oven overshoots, aim for 460-470°F instead of 500°F to reduce brittleness. Always preheat at least 20 minutes so the iron, racks, and air are all at a steady setpoint.
A final note on expectations: Flaxseed can deliver a glassy, jet-black finish that looks and feels outstanding, but it rewards patience and ultra-thin coats. If you stick to the wipe-to-dry rule, verify your temperature, ventilate for light smoke, and let each coat cool fully, you will end up with a durable, slick surface suited for eggs, steaks, cornbread, and weeknight sautés alike.
